
Odds and ends seem to collect on every surface of our home - coins, small toys, keys, broken crayons, receipts, paperclips... I started collecting them in old coffee cans so they'd at least be out of the way until I could sort them. To tell you the truth, I rarely get around to sorting them. Since the old cans are going to be sitting around anyway, they might as well look nice.
Supplies:
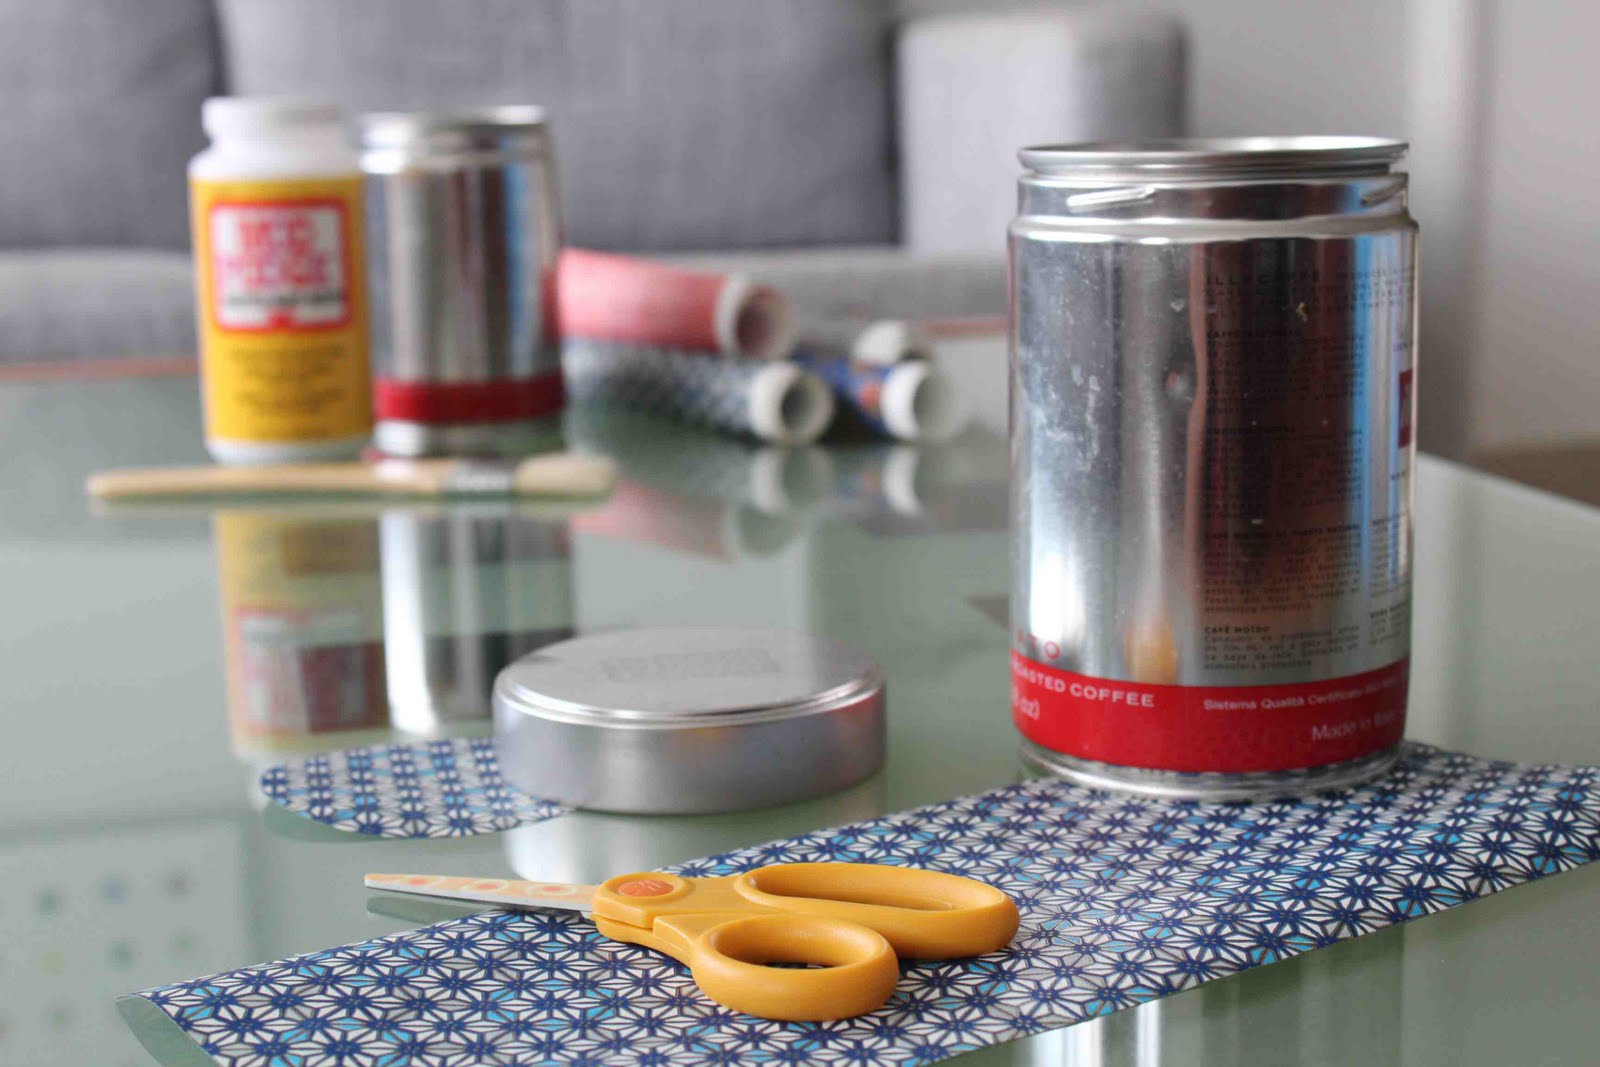
Empty coffee can, cleaned and dried.
Decoupage medium (I like Mod Podge)
Paint brush
Decorative paper (I used Japanese washi paper. Growing up in Tokyo, my mom went through a phase where she washi papered everything - beautiful decorative eggs, pencil holders, jewelry boxes... Now it's my turn. For this project, I'm sure wrapping paper or magazine cutouts will work too.)
Scissors

First, I cut a length of paper that was long enough to wrap around the can (with a slight overlap) and tall enough to cover the sides. Some coffee cans have paper labels - these can be carefully removed and used as a template. I wanted to cover the text that was on the lid of my can as well, so found a cup in my kitchen with a smaller diameter and used that to trace and cut a circle from the same paper.
Next, I used the paintbrush to apply a thin layer of Mod Podge to the top of the coffee can lid. I carefully laid the circle of paper on top, centered it and smoothed it out. Then I applied another thin layer of Mod Podge over the paper to seal it, cleaned up stray Mod Podge on the sides with a wet paper towel and placed the lid down to dry.


Finally, I applied the decorative paper to the sides in the same manner - thin layer of Mod Podge, carefully apply paper, smooth it out, another layer of Mod Podge over the paper to seal it, lay out to dry.


That's it! They were nicely dried after 3-4 hours - beautiful and ready to use. I think I'm going to put one in every room! They'll also make a nice gift container.

Tips:
Cans with smooth sides worked best - cans with ridges ended up with lots of bumps and wrinkles. Washi paper (probably other papers too) expands a tiny bit when wet with the Mod Podge - I ended up shortening the height of the paper a little to make up for it.


So pretty!
ReplyDeleteGorgeous. I'm inspired. Want to go to get some supplies right now!
ReplyDeleteThanks, ladies! I thought you might like them. And although I think most have forgotten by now, I still like to send a little love to Japan by doing things as simple as choosing washi paper over others. xo
ReplyDelete